Settings
Cage
Coverage
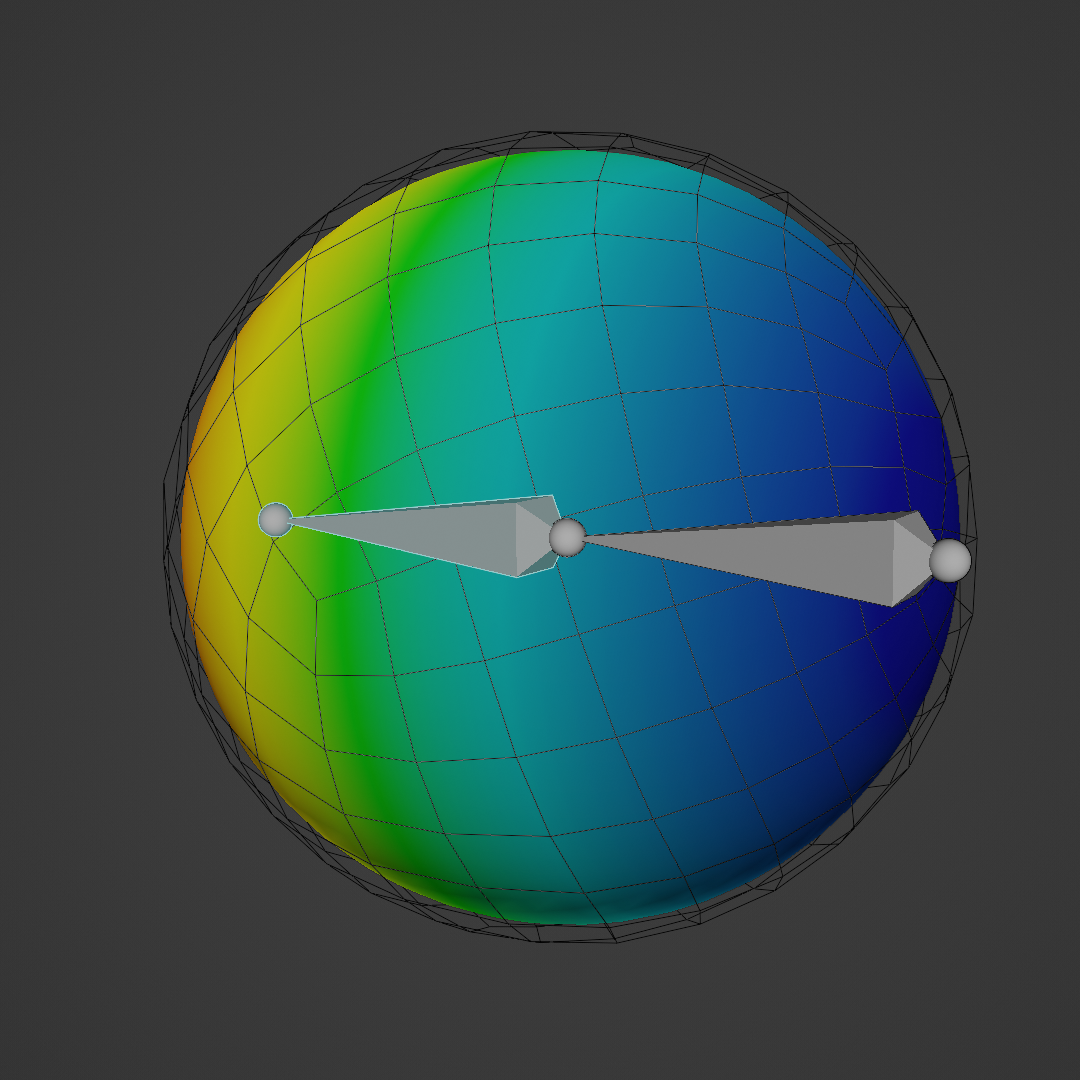
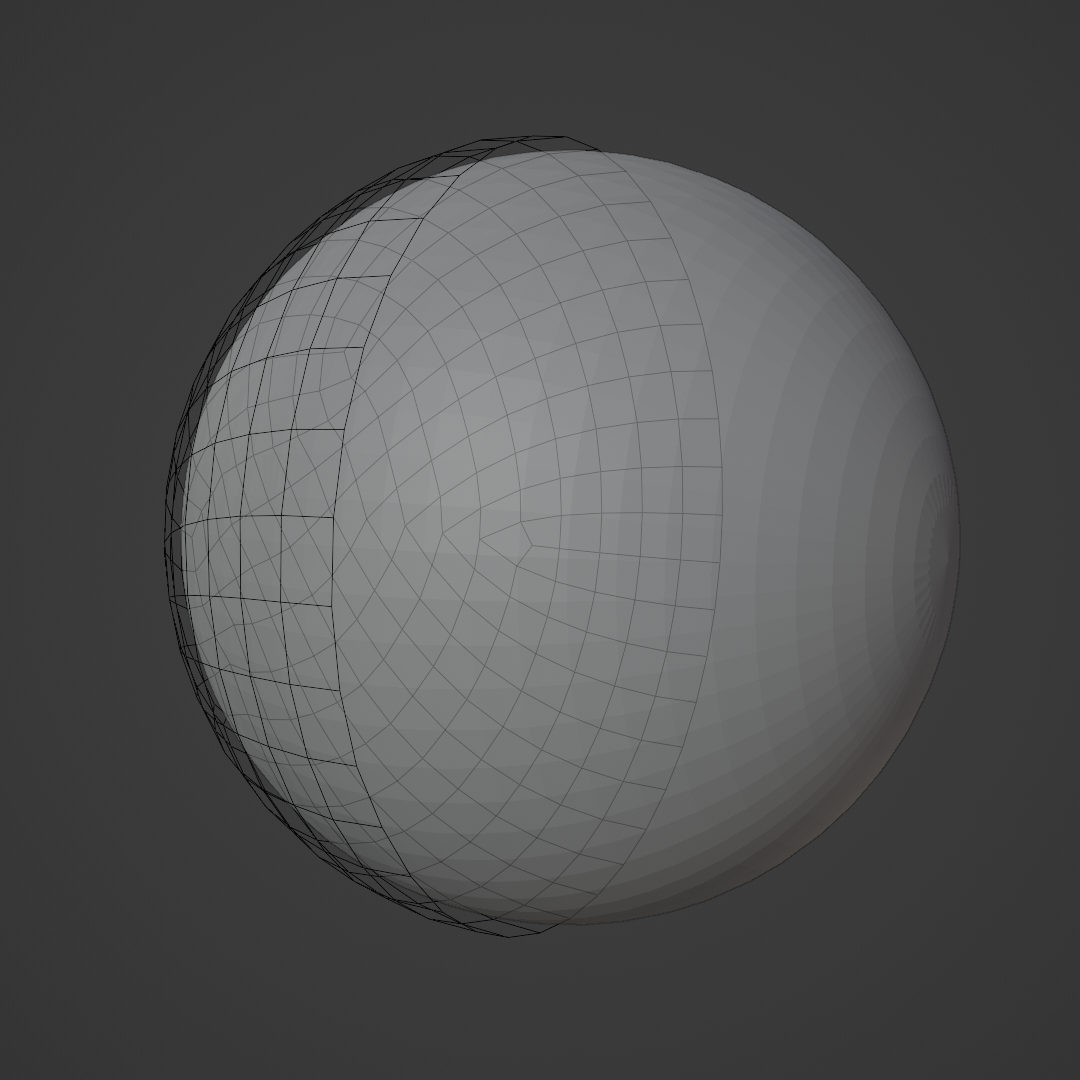
This option controls how much of the selected bone vertex group is considered when generating the cage.
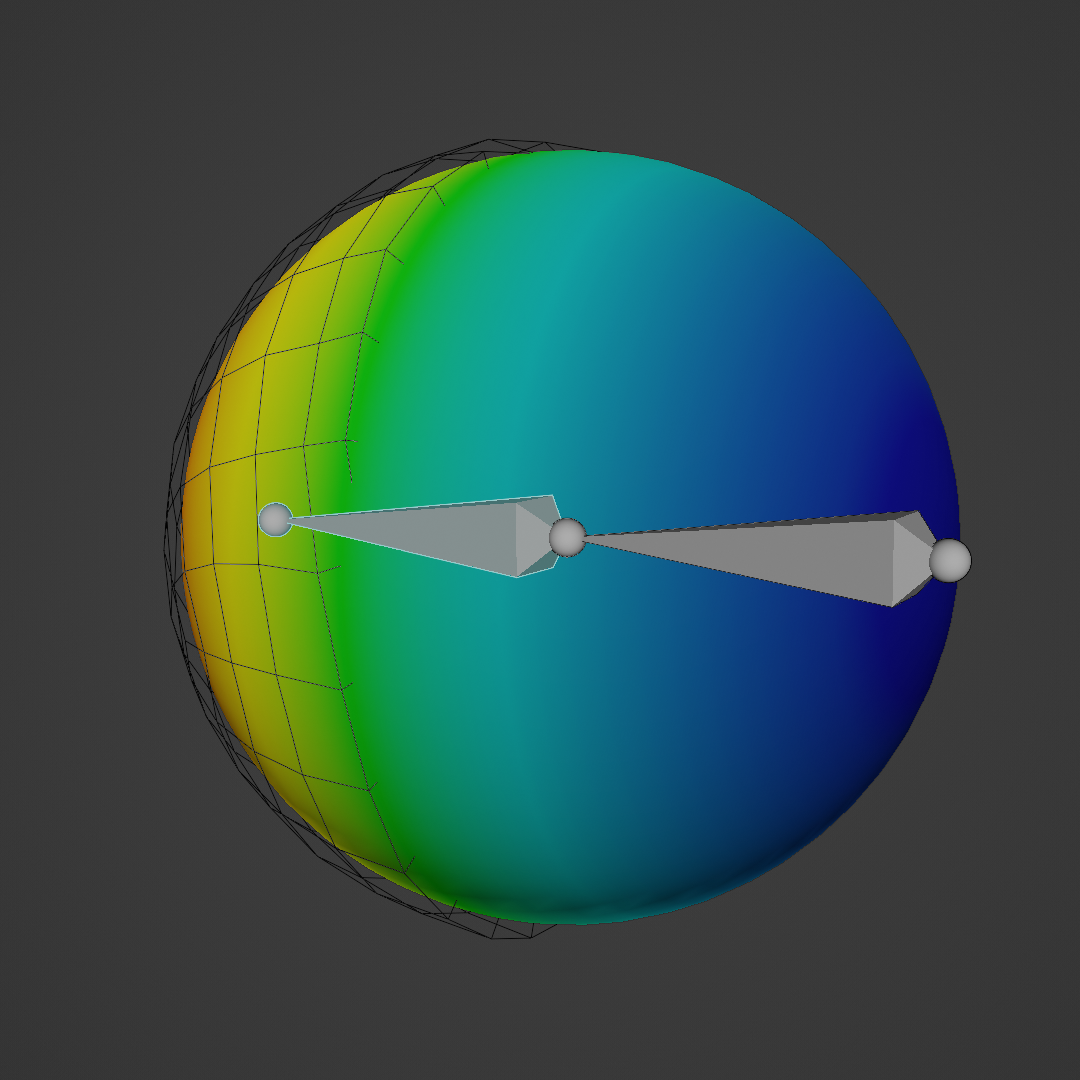
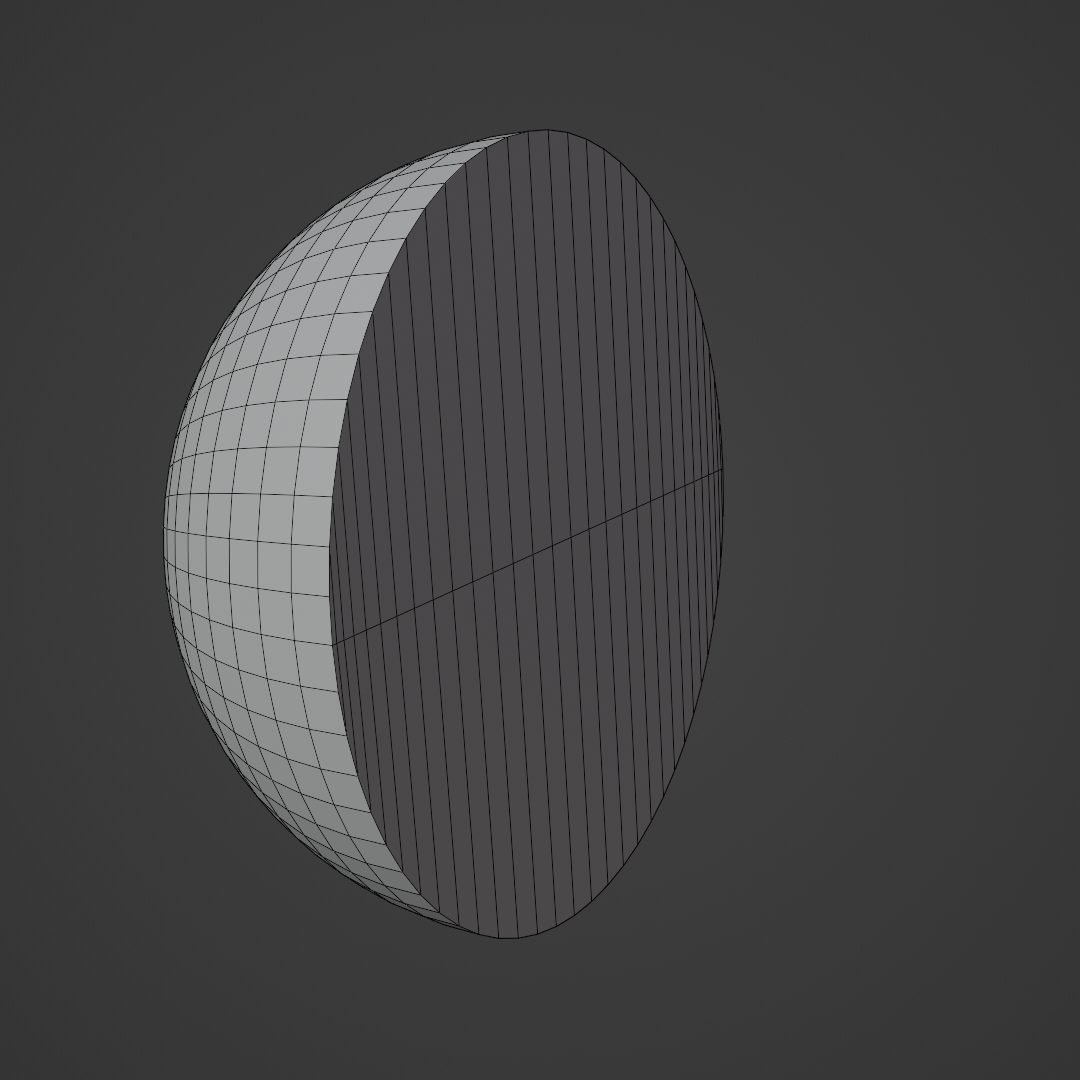
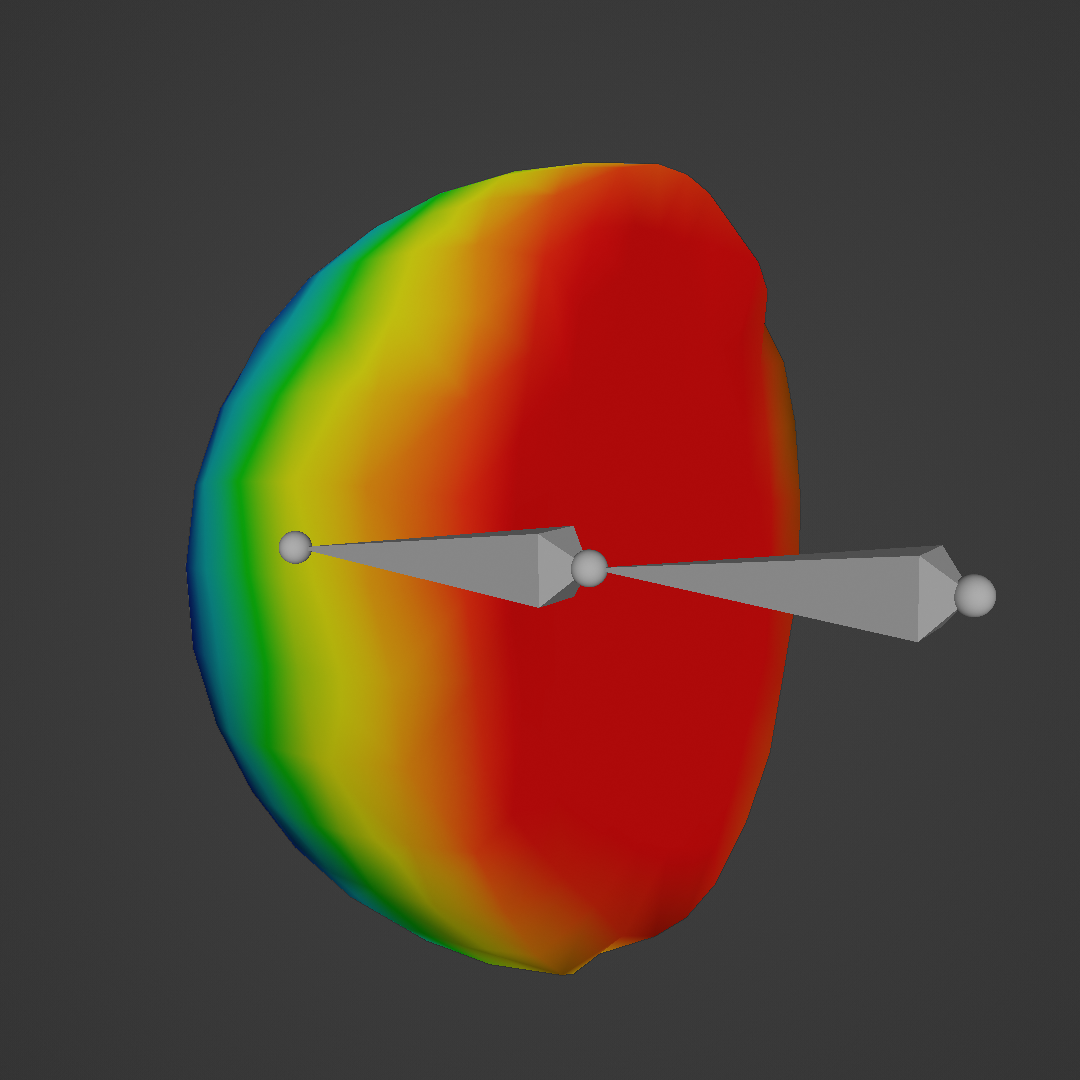
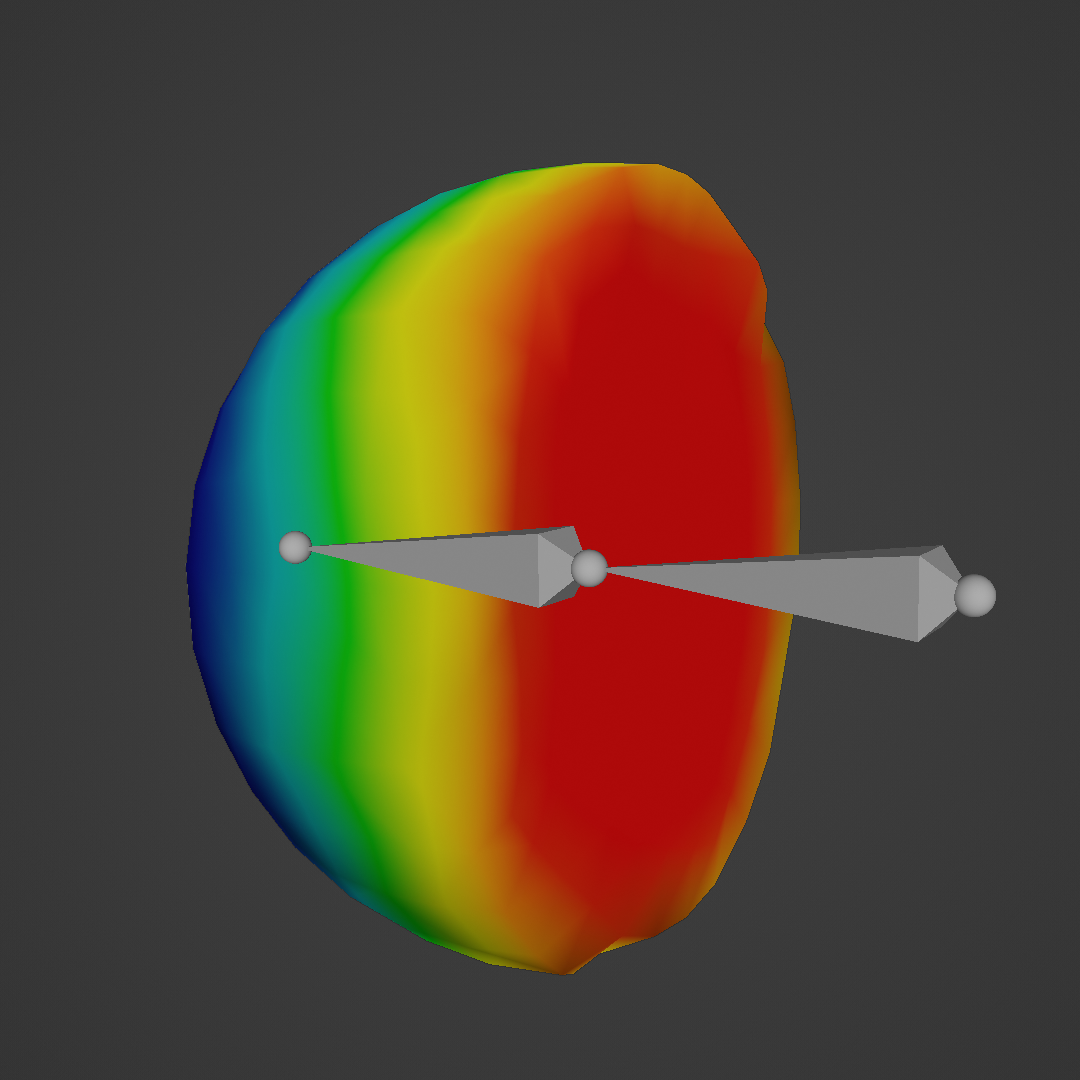
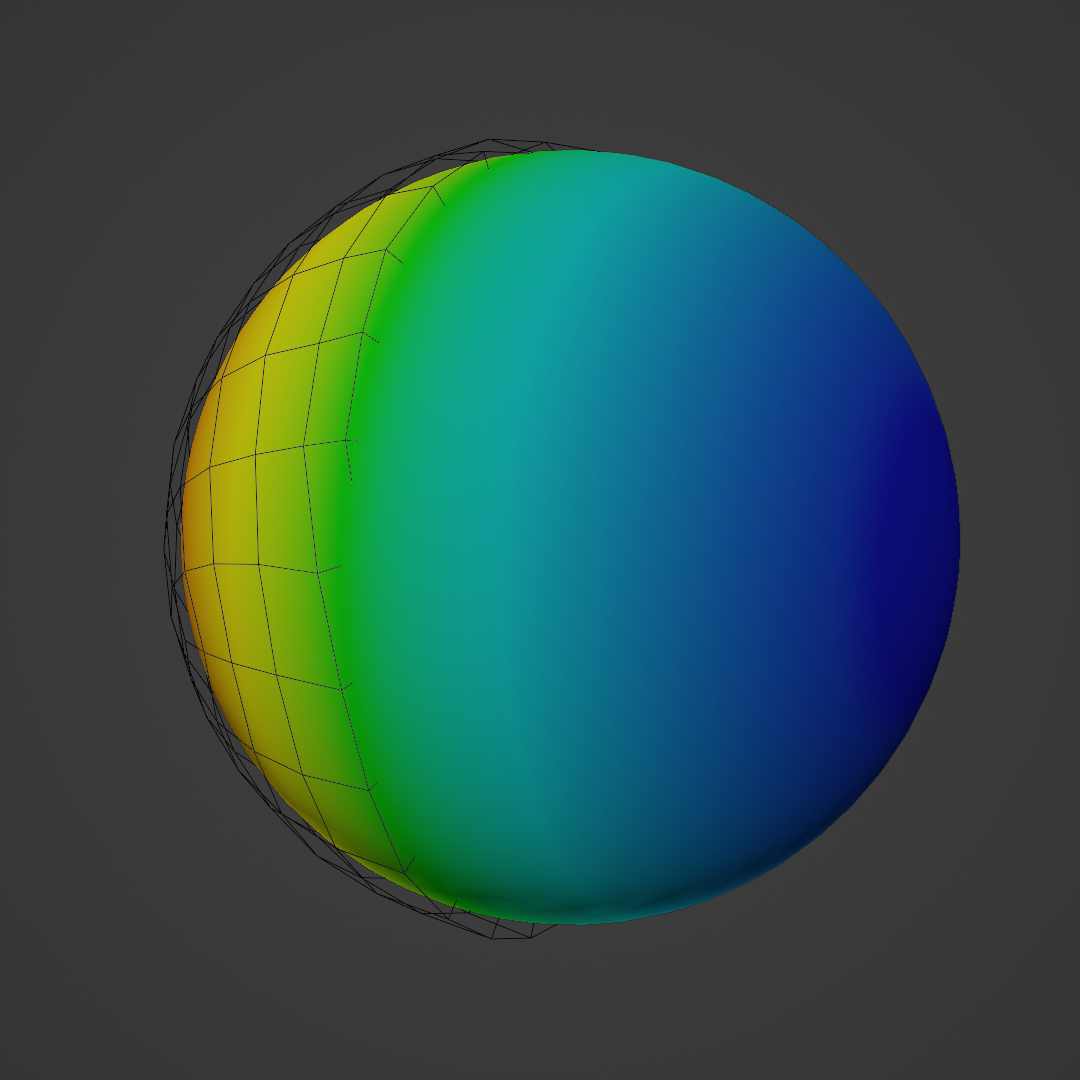
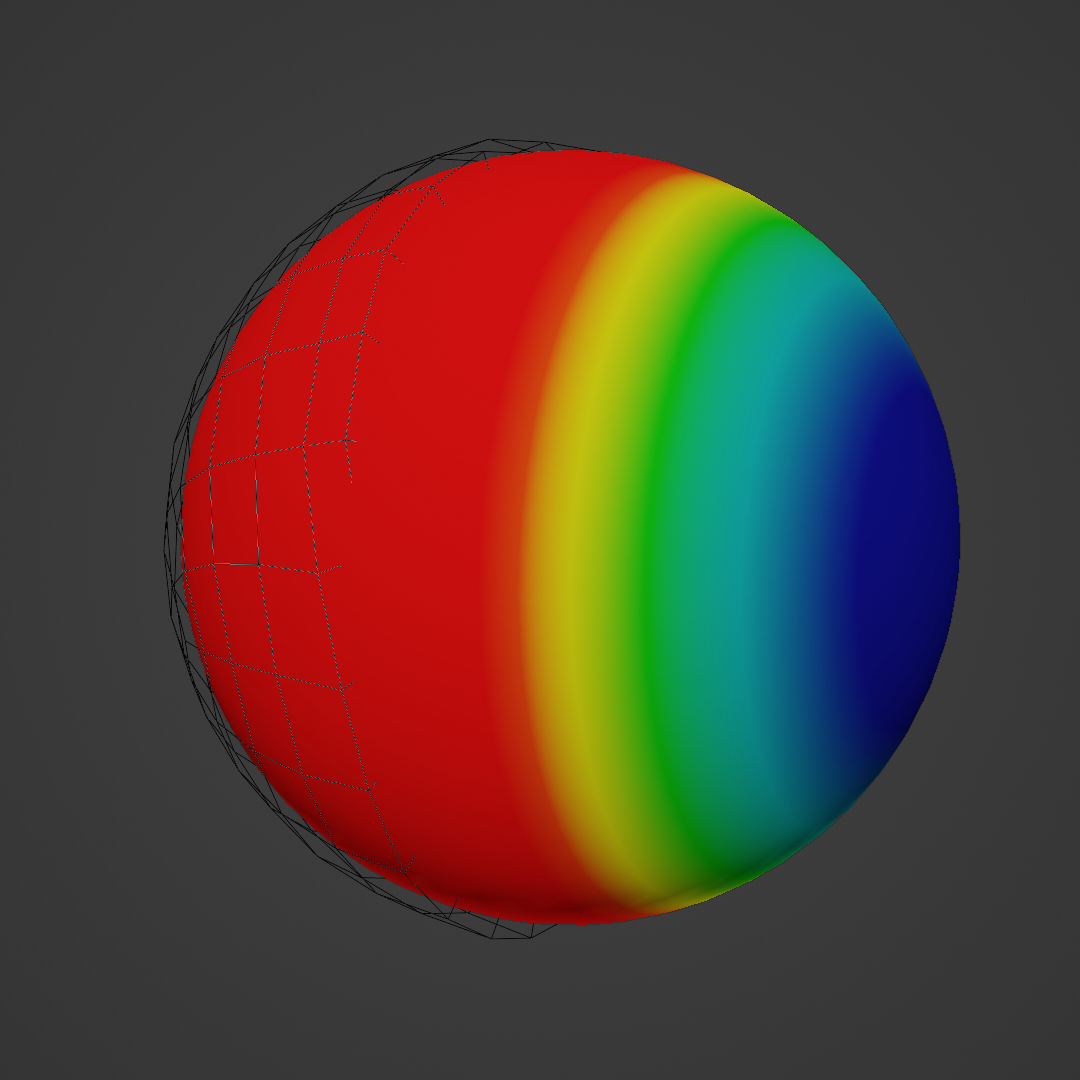
In the example, the vertex group on the sphere of the selected bone is shown. It has non-null values on the whole spehere. Therefore a coverage of 1 will create a cage covering the whole sphere. When selecting 0.5 instead, we cover half the sphere.
Coverage = 1
Coverage = 0.5
Re-size Scale
Re-size Scale is the factor with which the final cage is rescaled using the cage Origin to Center of Mass (Surface) point as the origin.
Note
We advise to use a value slightly bigger than 1 for physics cages, and a value of 1 for Colllision cages.
Warning
If the mesh is complex, the rescaling might be not perfect due to the choice of the origin. While this is not an issue when using Surface Deform binding option (see below), it might be a problem when using Mehs Deform as the cage might fail to enclose the whole mesh. In this case, small manual tweaks of the mesh might be needed.
Re-size Scale = 1
Re-size Scale = 1.05
Close Cage Mesh
With this option you can choose to close the mesh, and the method to consider.
Note
When creating a collision cage, better results might be achieved disabling the Remesh option and the Close Cage Mesh option.
Note
We advise to change the method only if errors are generated during mesh creation.
Close Cage Mesh disabled
Close Cage Mesh enabled

Remesh
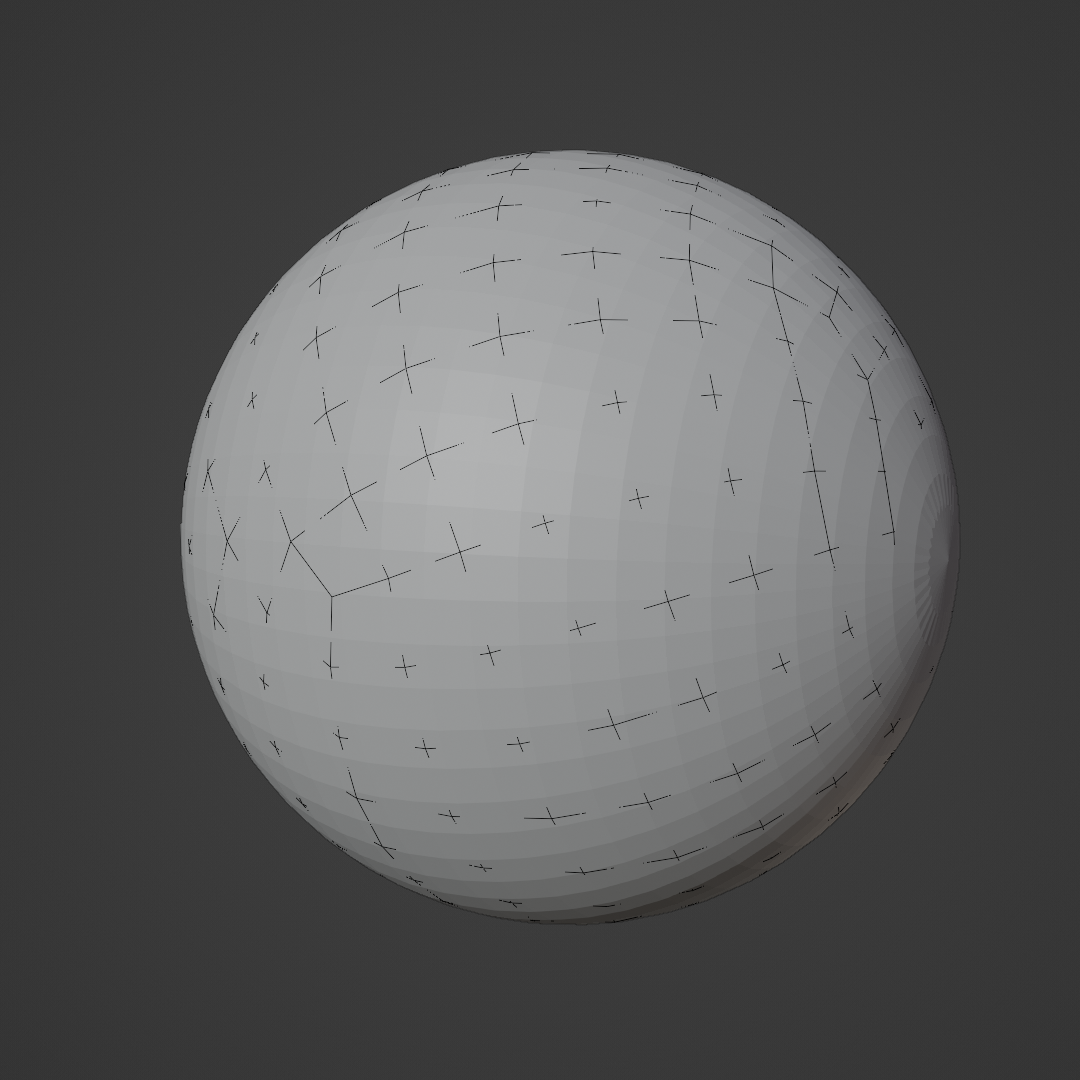
Remesh enables the possibility to remesh the generated cage. This in general will provide a nicer topology if you use Close Cage Mesh.
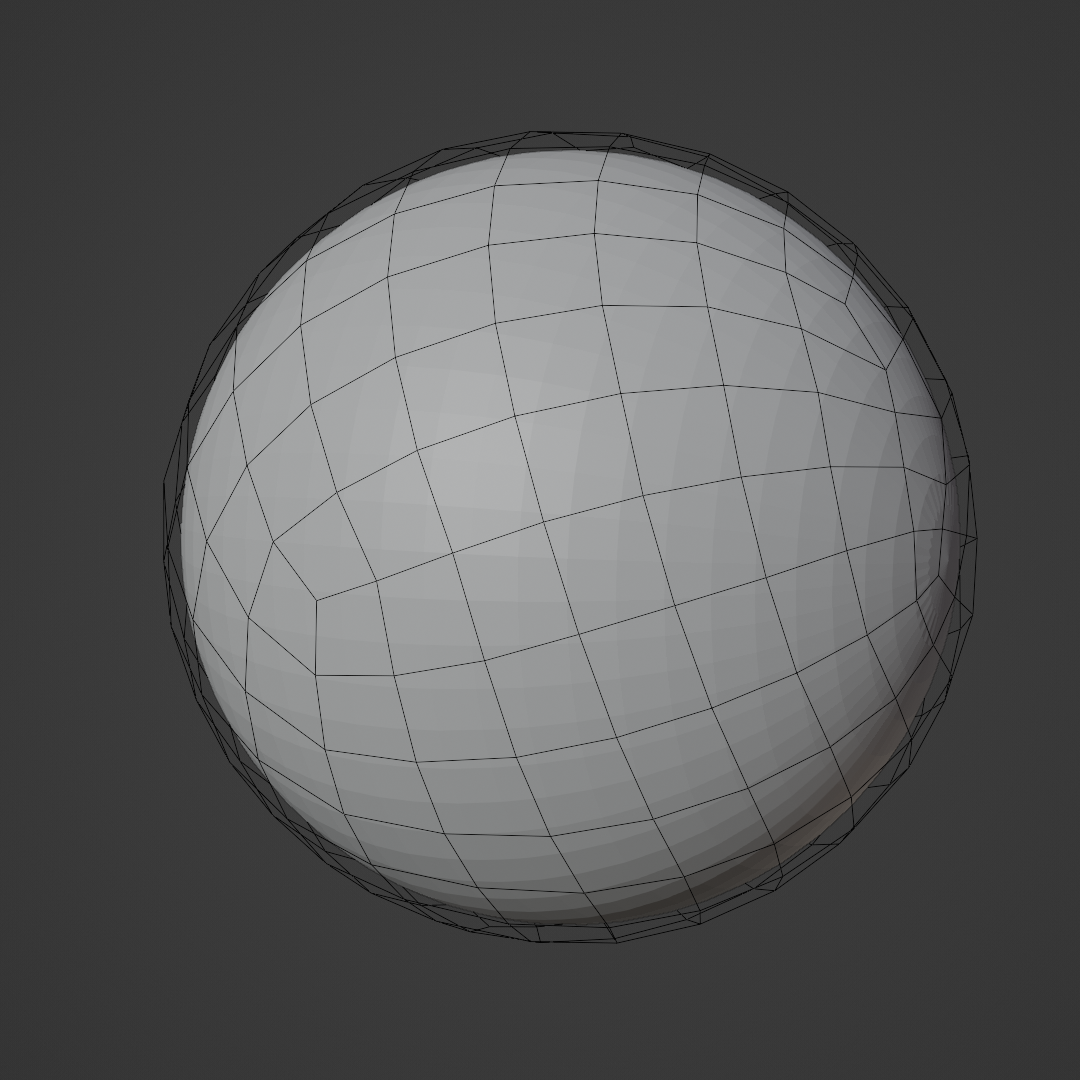
You can also use the Resolution setting to increase the number of vertices of the generated cages. Be aware that high resolutions can slow the simulation.
Finally, if some errors appears during the cage generation, you can also try to change the Remesh seed.
Note
When creating a collision cage, better results might be achieved disabling the Remesh option and the Close Cage Mesh option.
Remesh disabled
Remesh enabled with Resolution 900
Note
Even if the remeshed cage seems to have some problems at the boundary, it is perfectly fine and will not generate problems during the simulation. In fact, the remeshed mesh will behave better in general, due to the nicer topology, with respect to the non-remeshed one.
Clean Selection
This option improve the selection of the vertices used to generate the cage.
Clean Selection Threshold (Pro Version): in the Pro Version you can adjust the Clean Selection Threshold to try to fix some cage generation errors.
Note
If you are using the Free or Lite version, and the generated cage is not enclosing the whole mesh, disable this option. Otherwise, with the Pro version you can try to increase the Clean Selection Threshold.
Smooth Correction
With this option, a Smooth Correction modifier will be added to the cage to smooth the simulation. You can disable it after cage generation as usual, in the Modifier tab of the Cage object.
Pin Groups
Pin vettex groups define which parts of the cage will be affected by the cloth simulation, and therefore which parts will actually be moved. In the vertex groups, each vertex has a weight assigned. In the case of pin groups, when the weight is 1, the simulation will not act on that vertex; on the contrary, a null value means that the vertices will fully partecipate in the simulation. In between values can be useful to smooth out the transition between pinned part (weight = 1) and simulated parts (weight = 0).
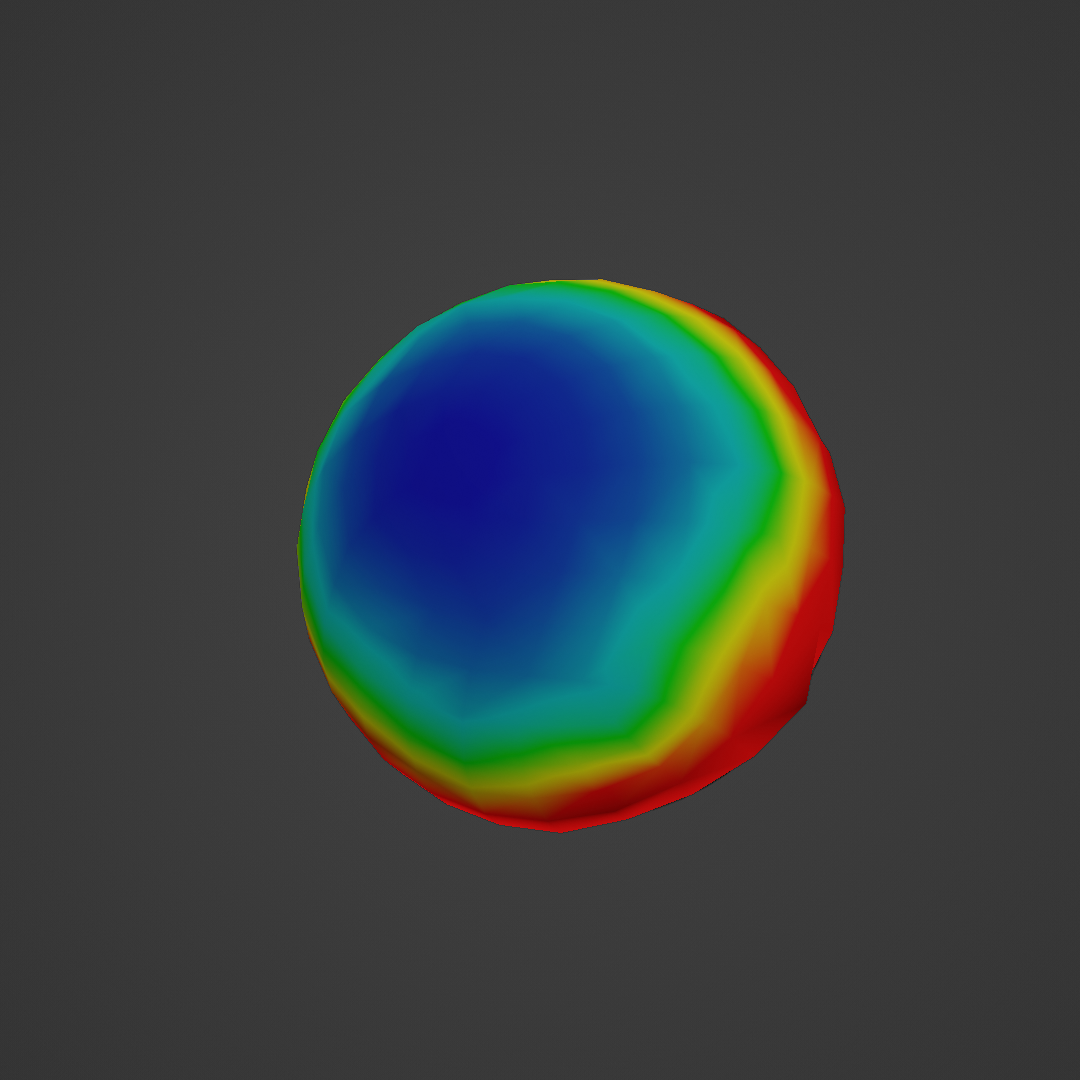
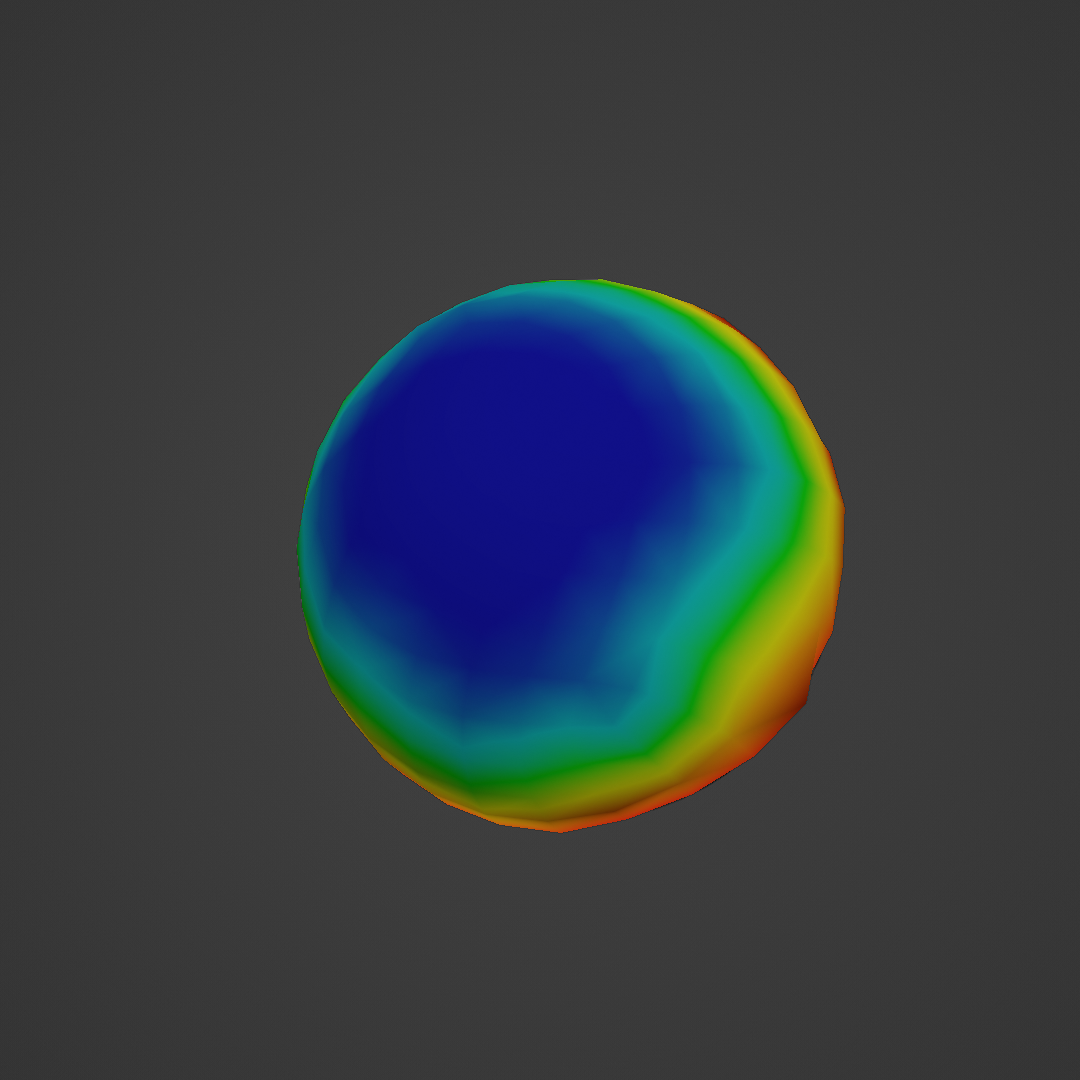
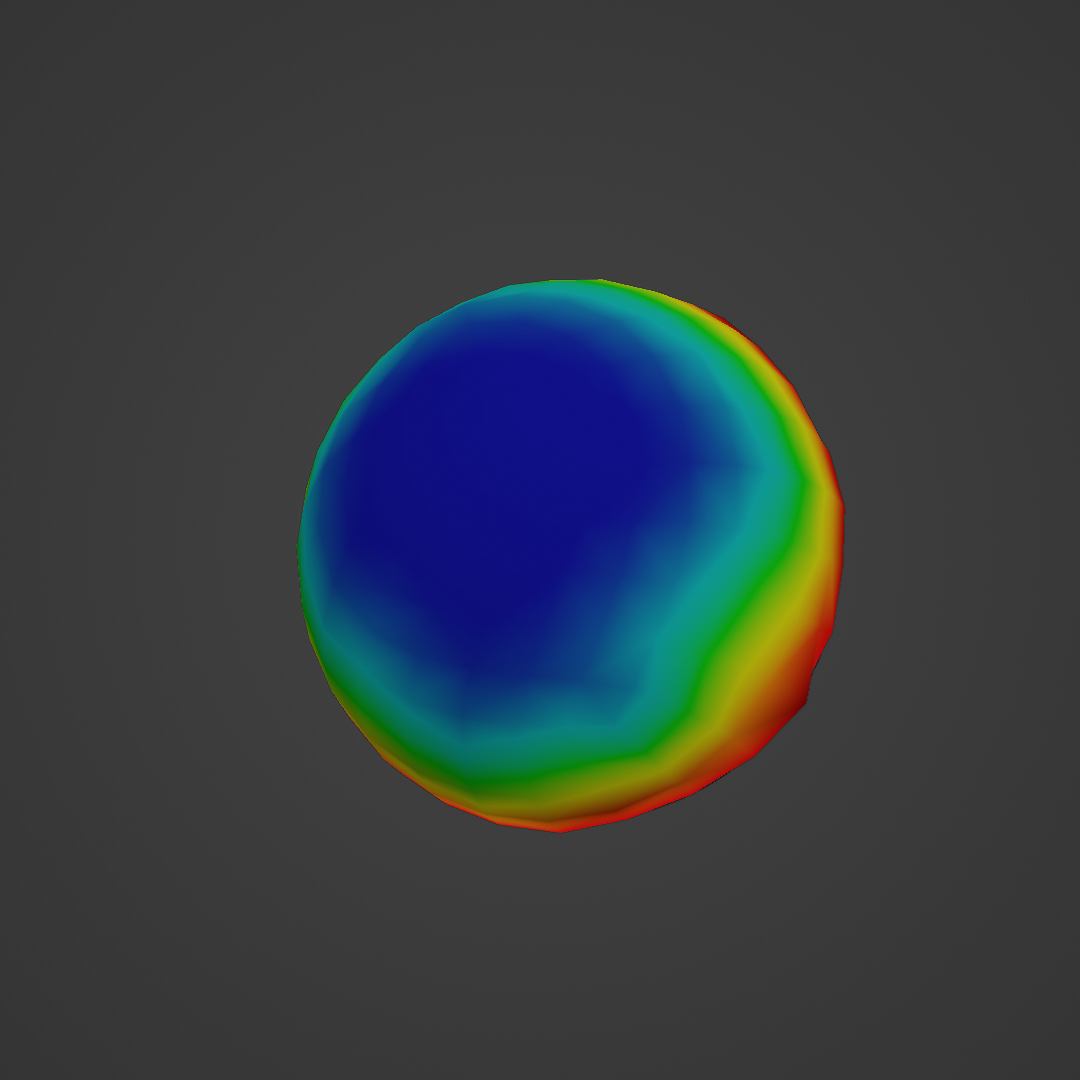
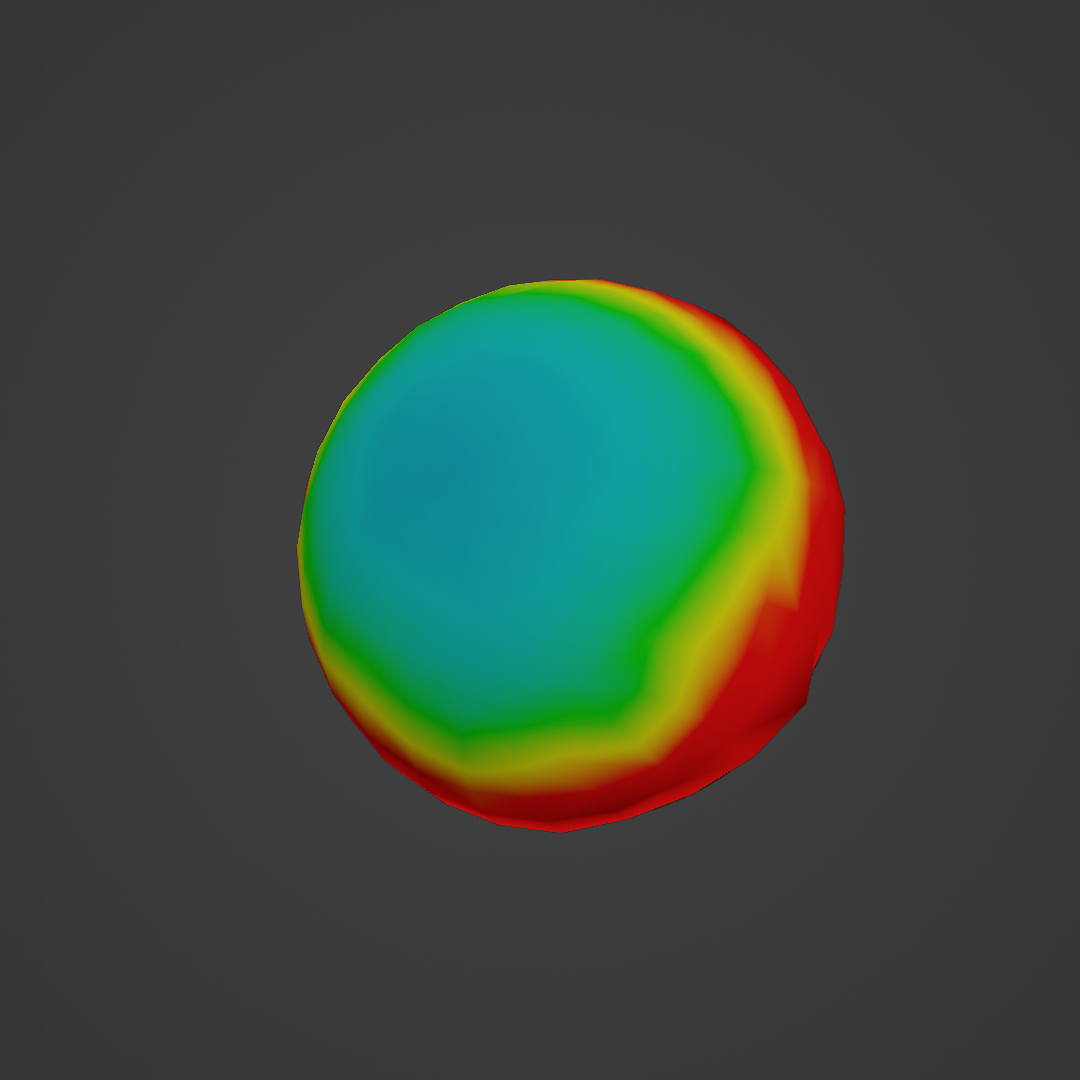
In the images below, 0 values are depiced with blue color, and 1 values are depincted with red. Green/yellow color depicts in between values.
Use Proximity Data
With Use Proximity Data, the cage pin group will be generated setting weights to 0 for all vertices that are near the cage mesh. Higher values of the factor can be used to increase the distance.
In the following example, None normalization is used.
Use Proximity Data disabled
Use Proximity Data enabled with default factor 0.02
Use Proximity Data enabled with max factor 0.2
Normalization
The normalization options are used to normalize the pin group weights. Most of the time, tweaking this setting might be the key to achieve good pin groups and therefore nice results.
The normalization functions, and effects of different normalization functions on a simple example, are the following. All of the following examples weights are computed with Use Proximity Data enabled with default factor.
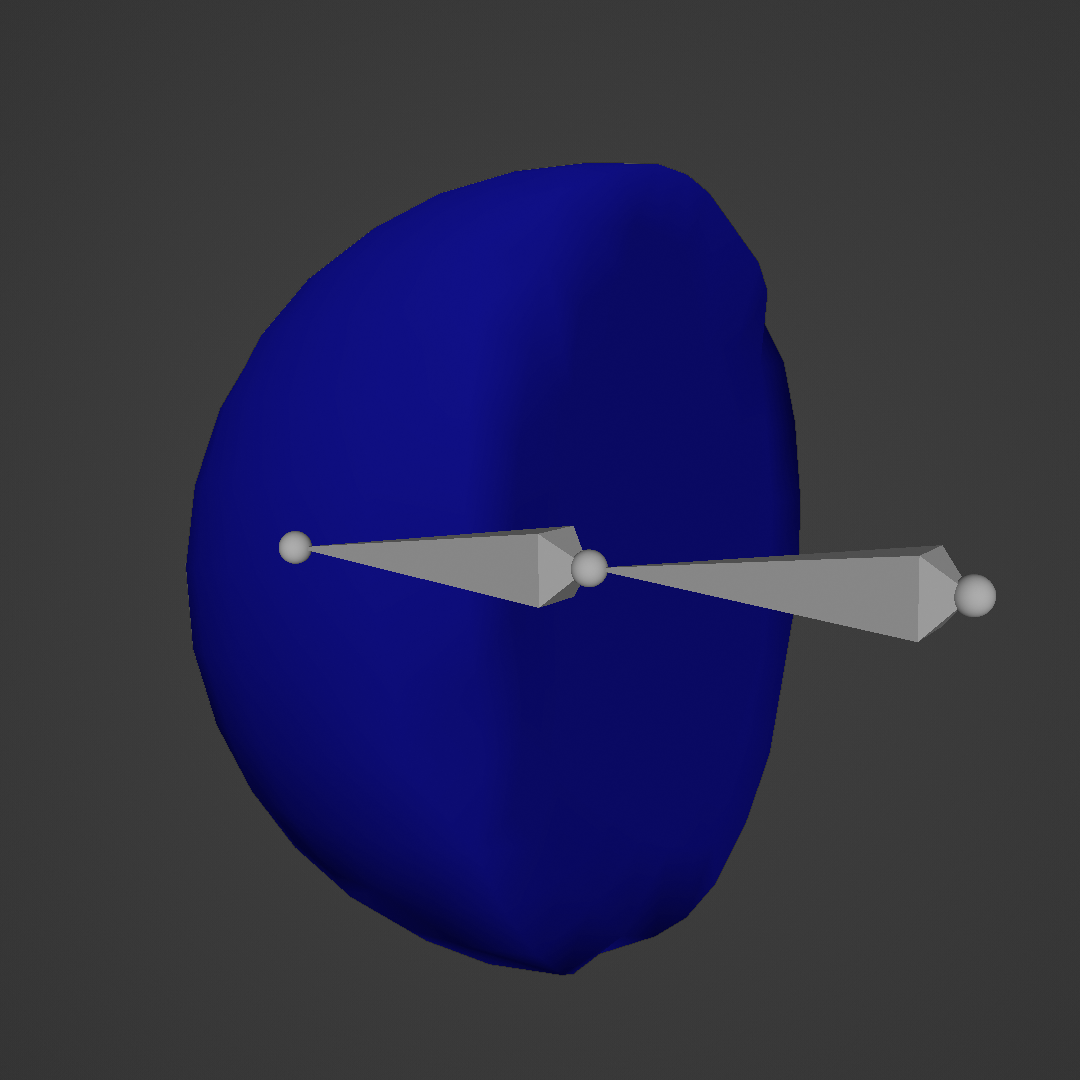
None normalization
\(Norm(w = \text{weights}) = 0\)
This function effectively set all weights to 0. If Use Proximity Data is disabled, the pin group would be all null. If enabled like in the figure, you still get a nice pinning on the part flat part of the half sphere.
It is useful to create simple weights, or without Use Proximity Data when we want to create a cage that is not pinned. In the latter case, the whole mesh will be simulated and it will interact with collision objects.

Linear normalization
\(Norm(w = \text{weights}) = w\)
Square normalization
\(Norm(w = \text{weights}) = w^2\)
Sigmoid normalization (default values)
\(Norm(w = \text{weights}) =\frac{1}{1 + \exp[-\text{f}*(w-\text{s})]}\)
Tanh normalization (gain 0.8 and min 0.2)
\(Norm(w = \text{weights}) =\tanh(\text{g}*w) + \text{m}\)
The gain g amplifies the vertex weights of the selected bone(s) and applies it to the newly generated cage, while min m is the minimum vertex weight that will be used.
Arcsch normalization (gain 1. and min 0.)
\(Norm(w = \text{weights}) = 1 - \tanh(w/\text{g}) + \text{m}\)

Note
Mathematically, we are normalizing the cage pin group generated from the inverted bone group of the parent mesh, using the selected normalization function. We do this using the normalization function as value of the weight instead of the value of the weight itself.
For those interested, you can plot these functions with Desmos.
Parenting
Deform Method
Different methods to deform the mesh with the cage are available.
Surface Deform
The default option, which in general provides better results and support parenting of the mesh with the armature. Therefore with this option the cage will firstly follow the armature bones, and then evaluate the physics simulation.
Mesh Deform
This option can be selected if the Surface Deform binding keeps failing. It only support single bone parenting methods (see below).
Parenting Method
If Deform Method is choosen to be Mesh Deform, this option is available to choose parenting.
Bone parenting
The cage will be parented to the bone with standard Blender parenting. Inverse transformation will be applied.
ChildOf
A Child Of modifier will be used for parenting.
Fix Influence
Fix Influence creates a better influence group (the group used to defined with parts of the mesh are influenced by the cage in the Surface/Mesh Deform modifier) for the mesh.
If not enabled, the bone group will be used instead.
Note
We advise to always keep it enabled, with default factor.
Fix Influence disabled
Fix Influence enabled with default setting
Smooth Correction
With this option, a Smooth Correction modifier will be added to the mesh to smooth the simulation. You can disable it after cage generation as usual, in the Modifier tab of the mesh object.
Cloth Physics Settings
In this section you can select the preset to use.
Some are available by default. To create new ones:
Change the cloth settings of the cage

Press on + button near the preset list
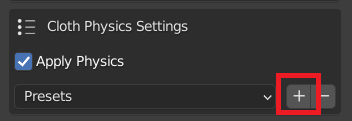
Choose a name and Create
Then you can call a preset just selecting it from the list. To delete a preset, click on the - button.
Note
You can also generate a cage without physics, disabling Apply Physics.